Instances
An instance is one Hytale installation with its own version, game files, mods, worlds, live game output, and play-time record
When an available source provides a human-readable version name, Hyprism uses it on the instance card and in the details. Existing instances are updated automatically when the launcher finds a missing name
Create an instance
When the instance list is empty, Import and Select version open their respective steps directly.
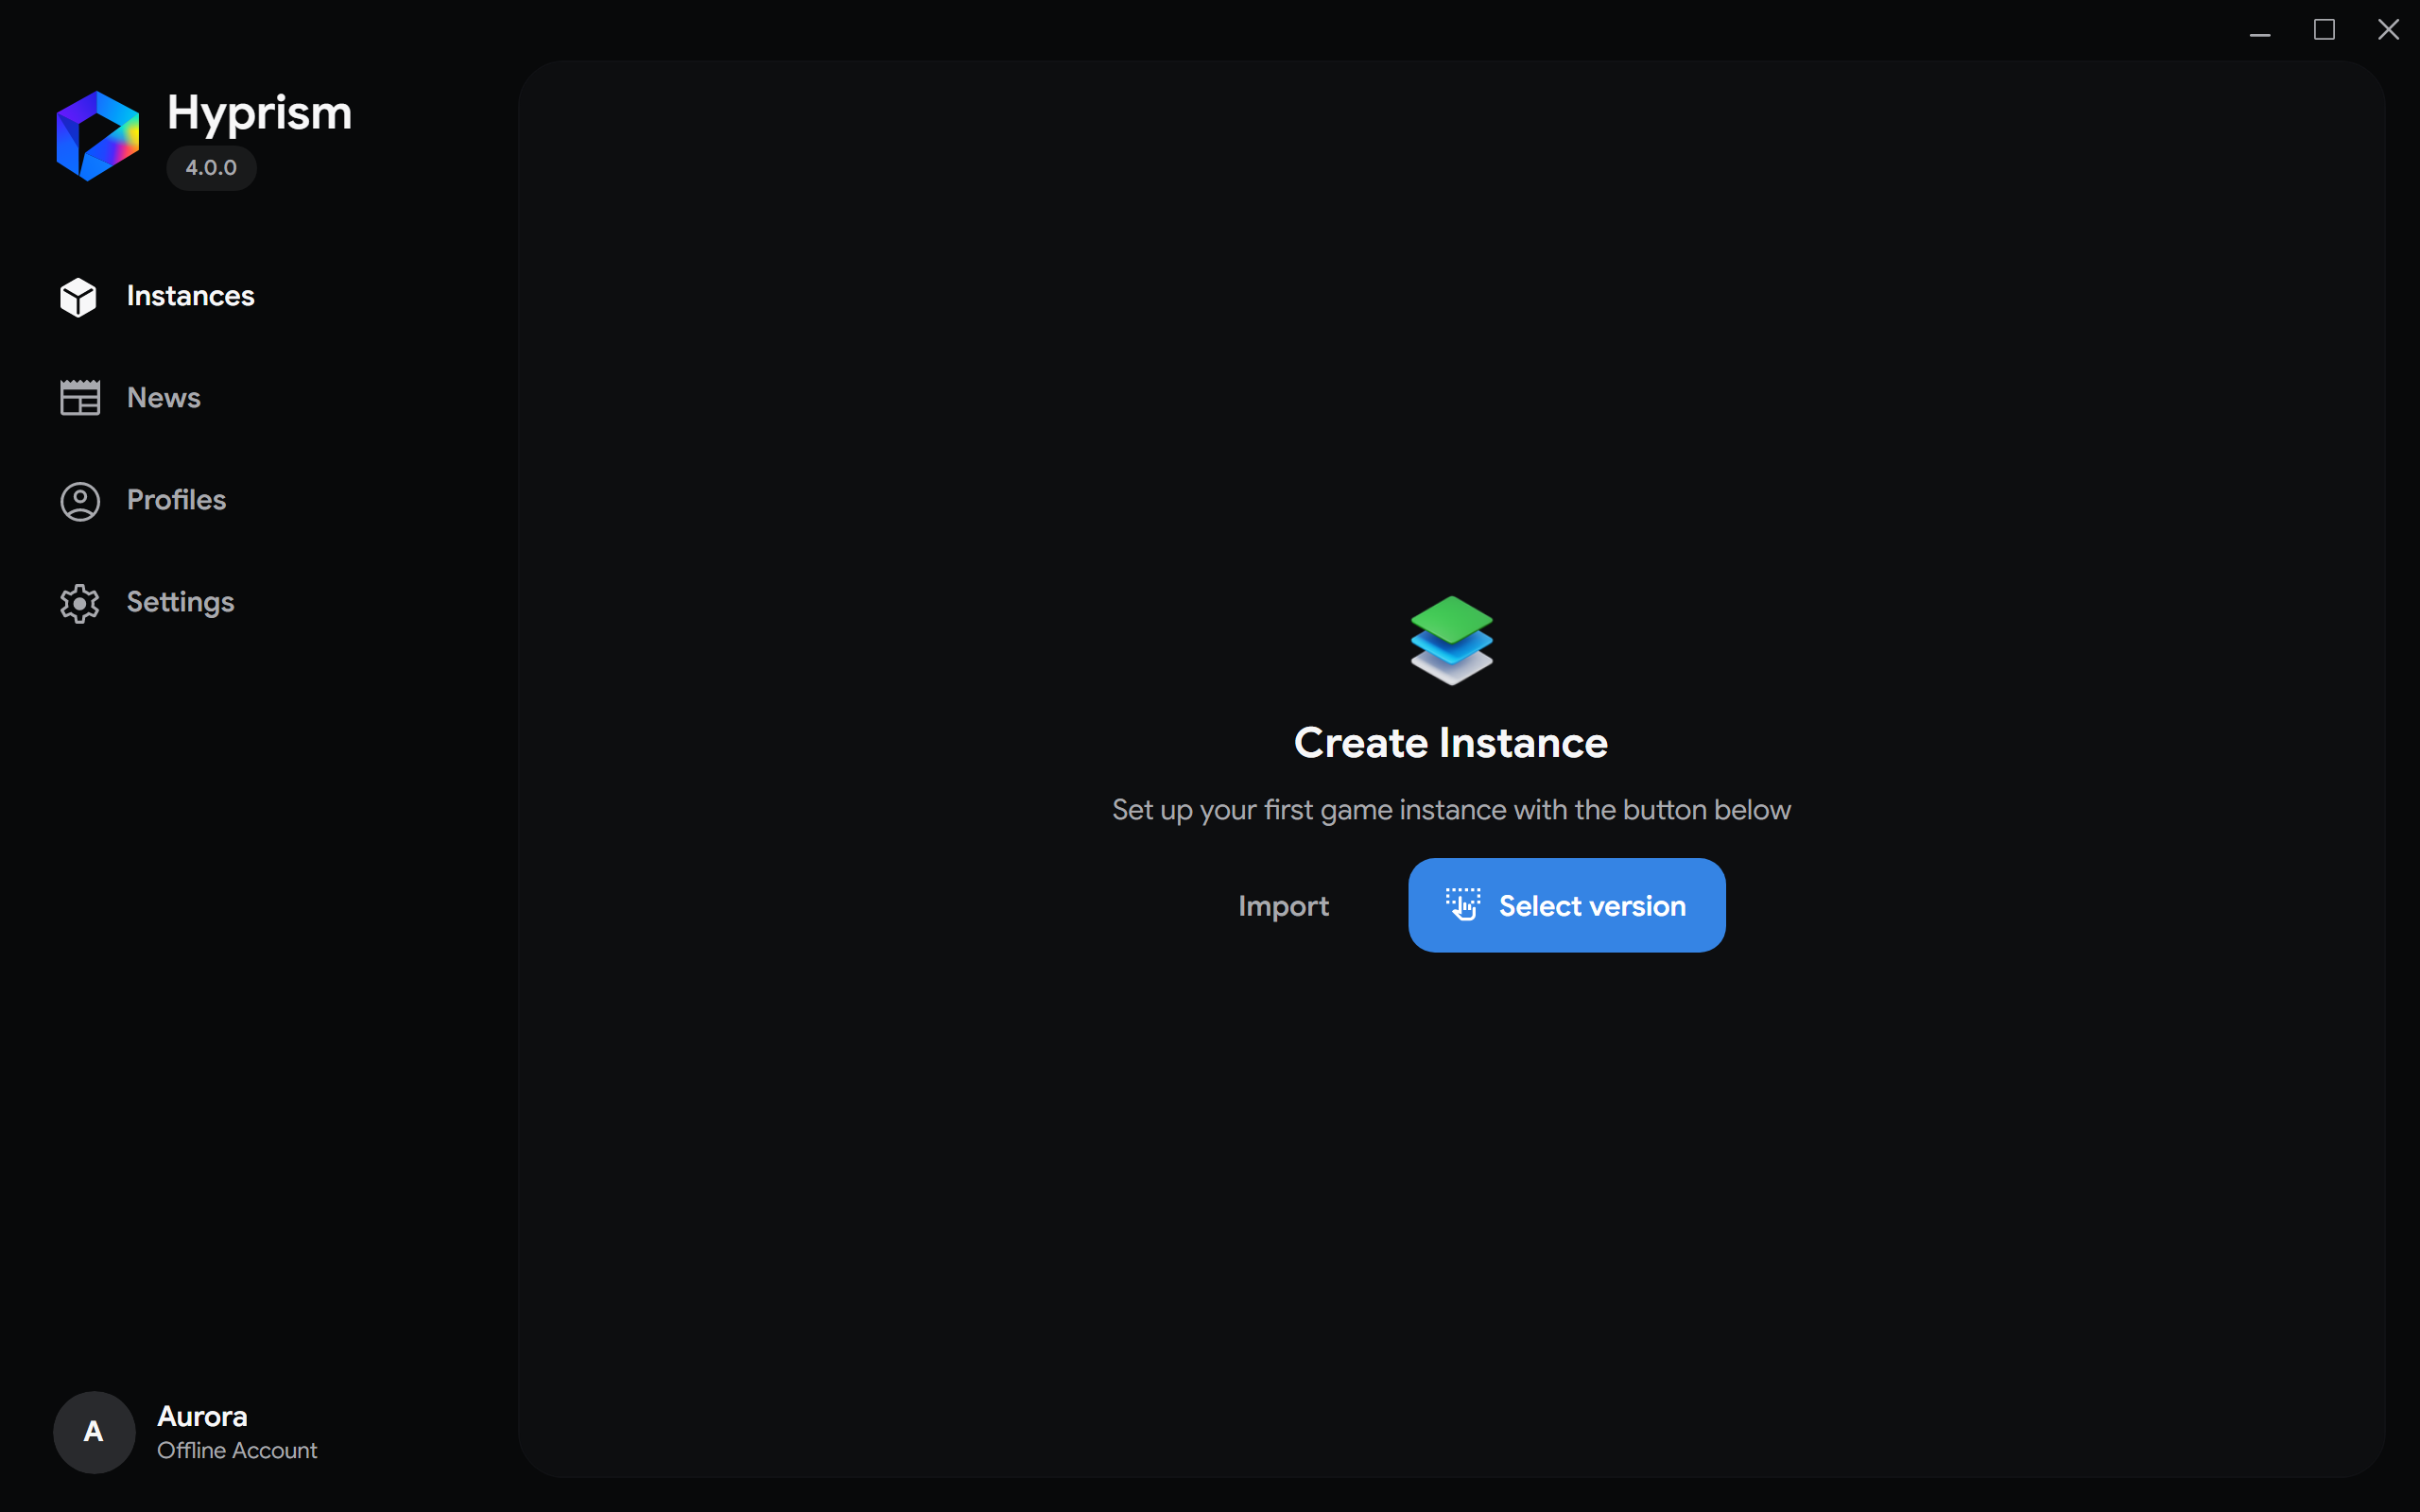
If there are no instances and no download sources, Select version is unavailable. Add a mirror in Settings → Downloads or sign in with the Hytale account that owns the game, then return to Instances. You can still choose Import to restore a saved package.
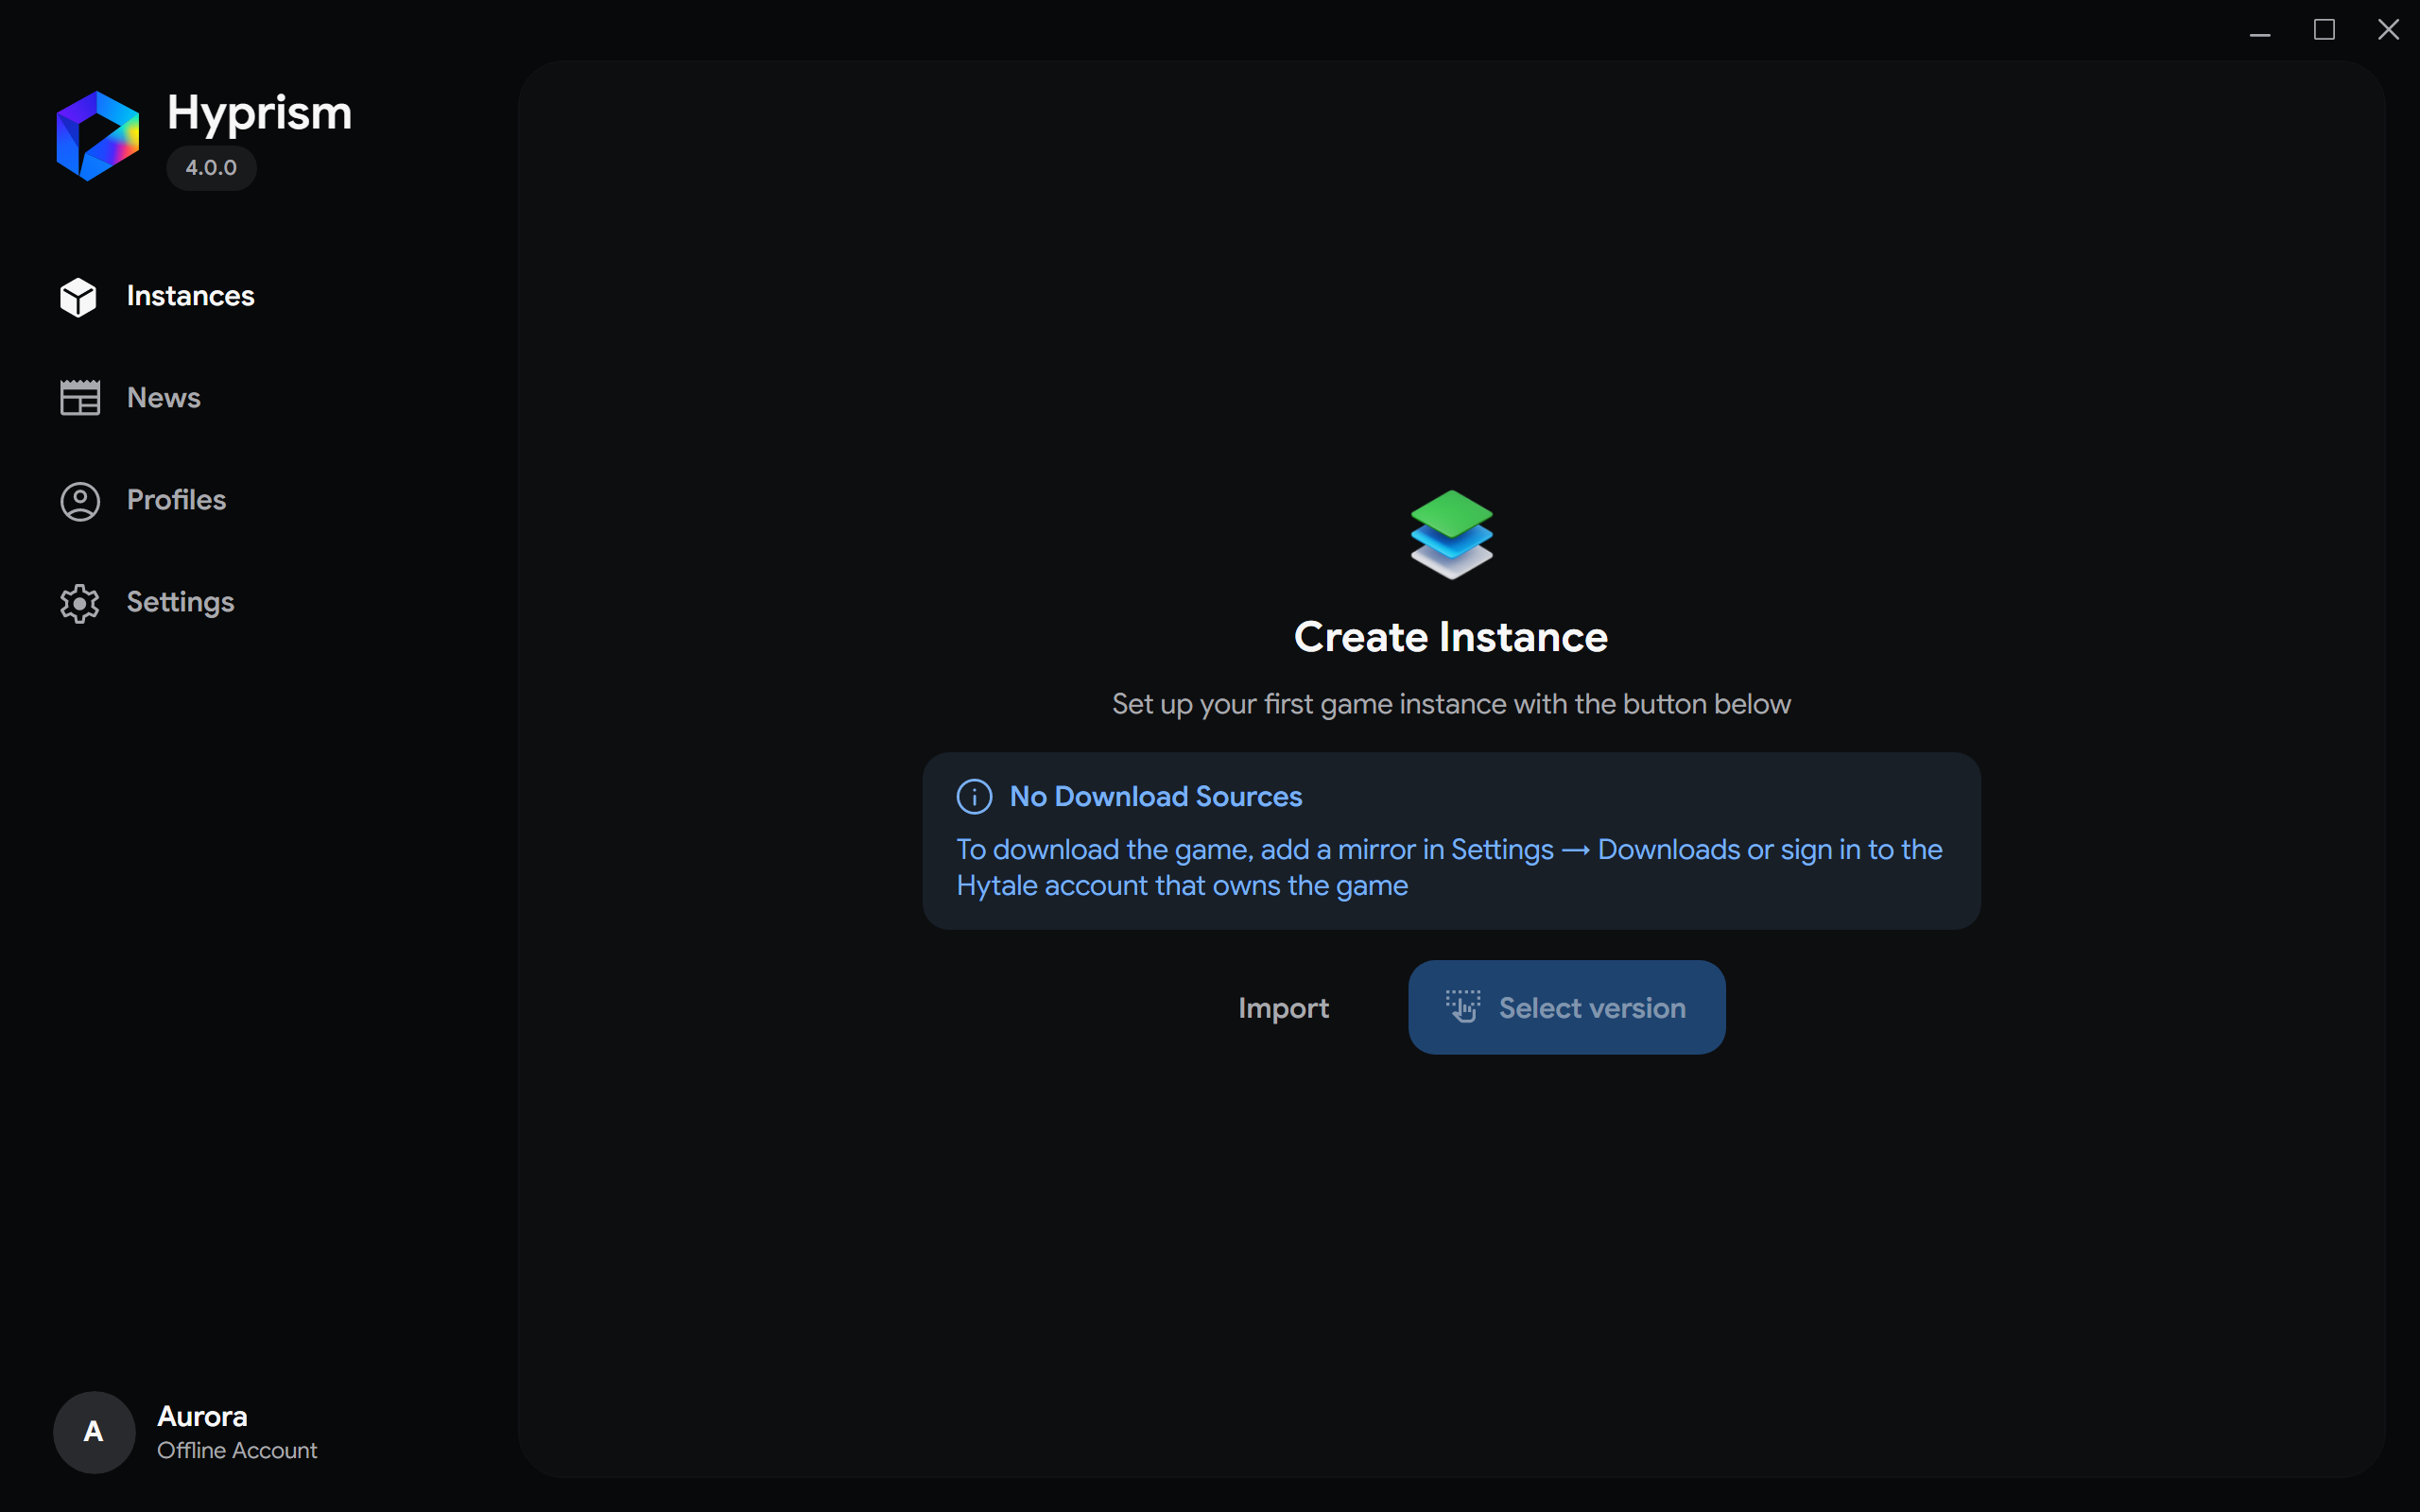
- Open Instances. If the list is empty, select Select version to open the version picker directly. Otherwise select New Instance, then Download.
- Choose a branch.
- Choose one of the available builds. For manifest mirrors, the list includes only builds reachable from a full archive through published patches. When the source provides a game version, Hyprism shows it in gray parentheses after the build number. Builds without a game version show only the number.
- Confirm the creation.
The new entry appears immediately, but its game files are downloaded only when you launch it
Press Esc to leave the version picker when the list is empty. If you entered through New Instance, the first press returns to the Download or Import choice and the next closes the wizard. If a text field has focus, the first press leaves that field.
New instances store the default name Hytale; the interface displays it as Hytale <version>
Export or import an instance
- Open an instance and select Export in its section list.
- Choose Export build for the game, mods, and user data, or Export game for game files without user data. Export modpack exports only installed mods and appears when the instance has at least one installed mod.
- For Export build or Export game, choose Instance template (JSON) or ZIP archive. Modpack exports use ZIP. Select Export, then choose a destination.
The Export menu item becomes available after installation when the instance is idle.
While a ZIP archive is being created, Exporting shows the percentage of selected file bytes copied. Hover over the button and select Cancel to stop. Cancellation removes the temporary package and leaves an existing destination file unchanged.
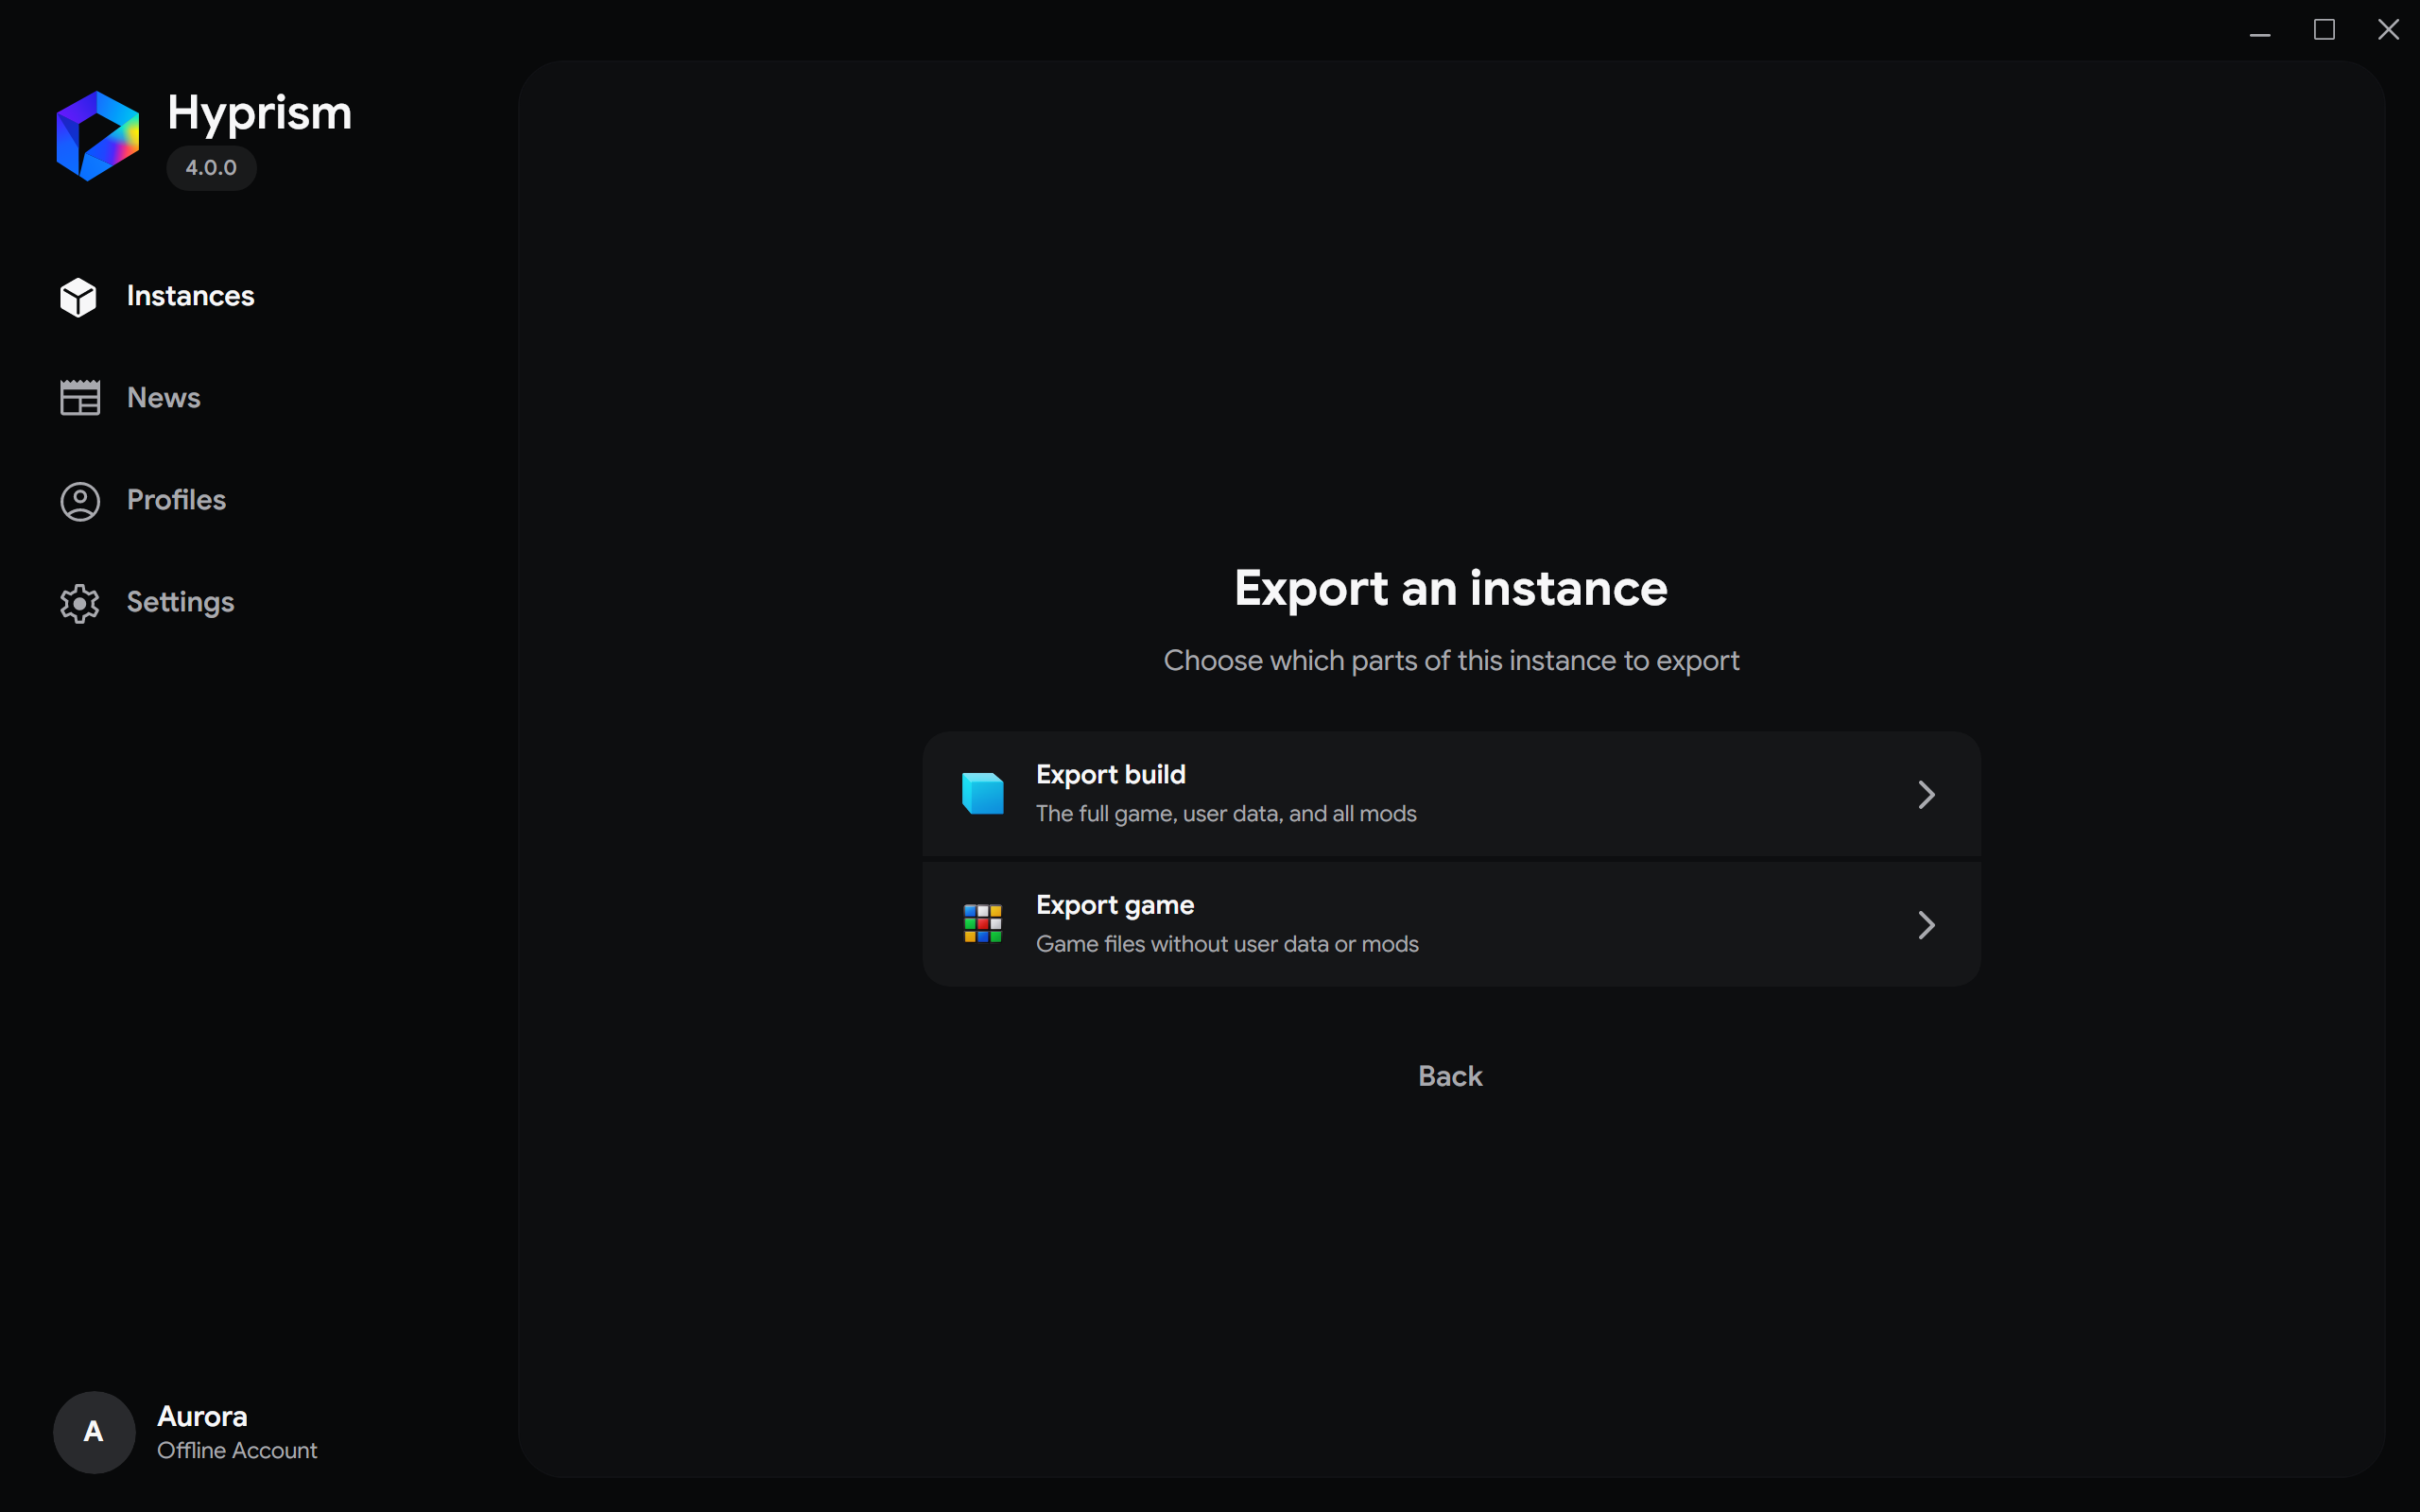
The wizard closes when export starts. The instance's Export row shows Exporting until the file is ready. Select that status button to cancel. A canceled export removes its temporary file and leaves any existing destination file intact.
The JSON template records the instance name, branch, build, and optional version name. A build template also records notes; a game template leaves them out. Neither contains game files or mods. ZIP includes the selected files, instance metadata, and a JSON manifest. A build archive also includes worlds and other user data.
To import from an empty list, select Import to the left of Select version. If instances already exist, select New Instance, then Import. Select Choose file and pick a JSON or ZIP package. JSON creates an uninstalled instance definition and requires a configured download source. If no source is configured, a dialog explains how to add a mirror in Settings → Downloads or sign in with a Hytale account that owns the game; dismiss it and import again after setting up a source. ZIP restores the packaged files. Importing a game-only or modpack-only ZIP restores only those selected files.
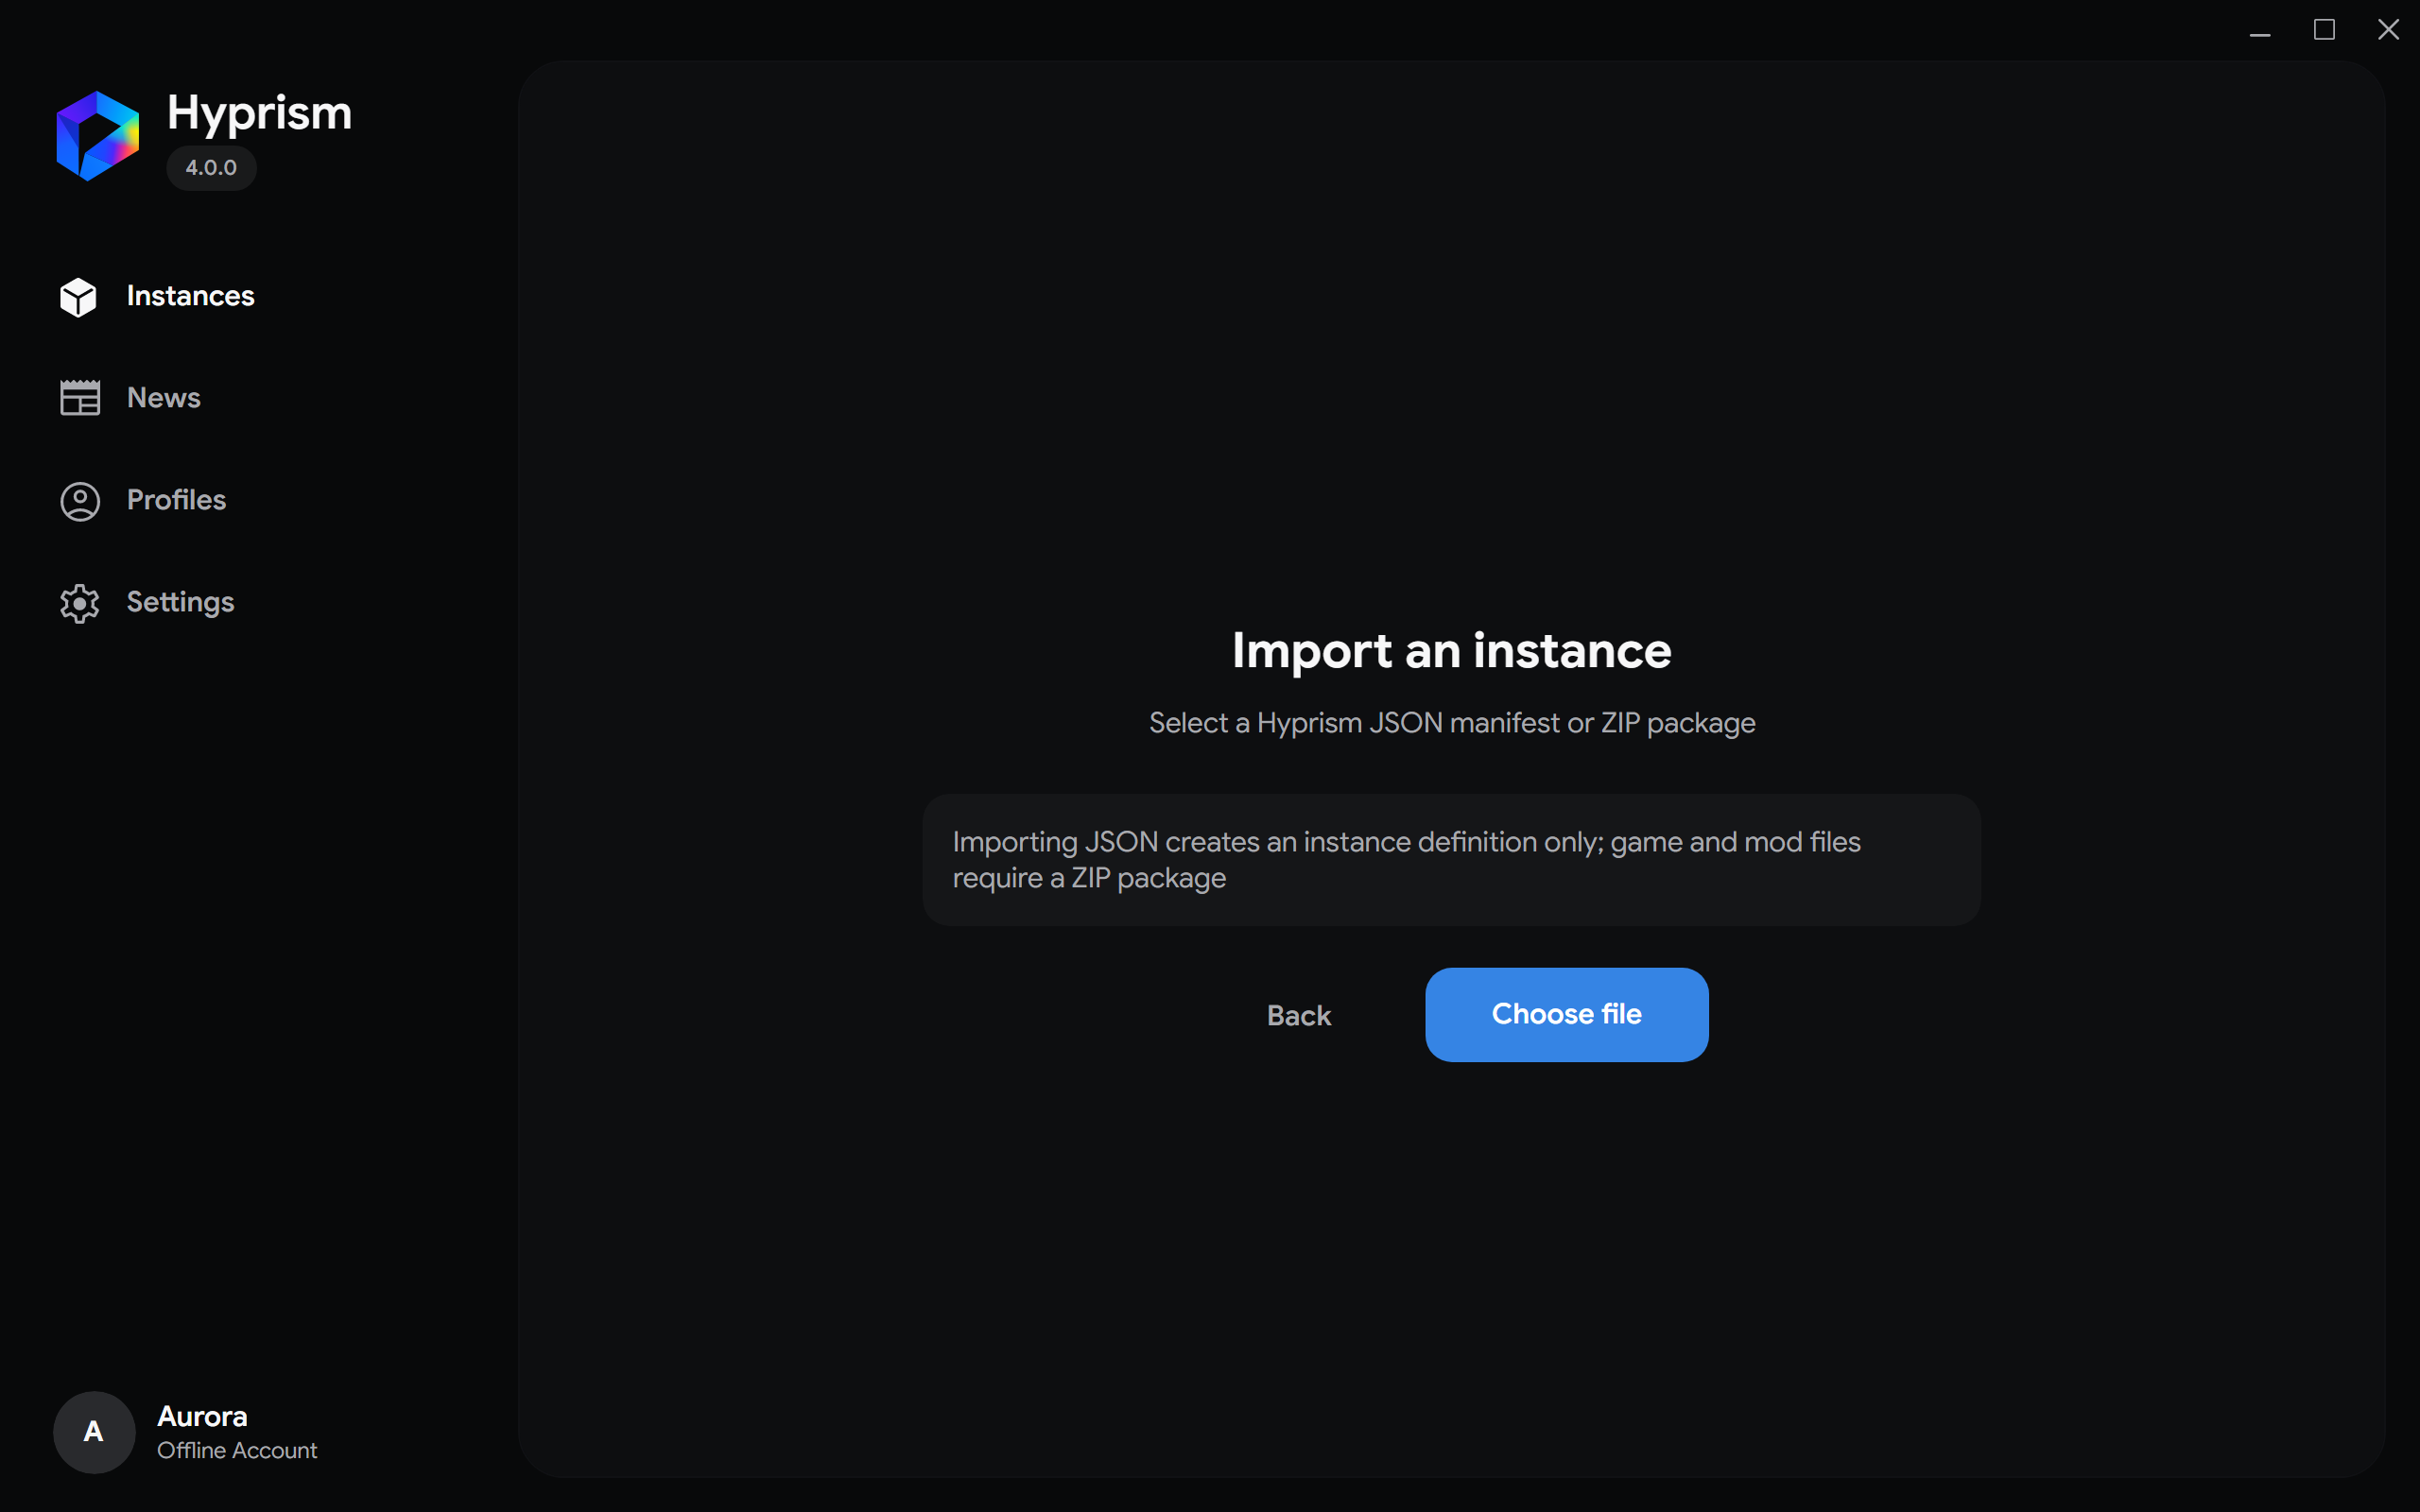
During import, hover over the progress button and select Cancel to stop.
Install or launch
In a compact window, the instance keeps its large icon and name in the detail view. The main install or launch action is centered in the top bar. The button with three vertical dots on the right opens additional actions.
Select an instance card, then use its main action:
- An uninstalled instance downloads its files and starts automatically when installation succeeds
- During an active installation, the main action shows the current stage, percentage, and a spinner
- An installed instance starts without downloading a complete image again
- A running instance shows its session time. Hover over its main action to reveal Cancel, then select it to stop the game.
- An active installation can be canceled after the action changes to Cancel.
If you just launched the game and the pointer is still on the button, move it away and hover again to reveal Cancel.
Only one process can use an instance at a time. Different instances can run together because their files and user data are separate
Edit an instance
- Open Instances and select the instance.
- Select Edit in the action row or the compact menu.
- Use the icon card at the top to select Select Icon and choose a PNG or JPEG image. Reset appears when a custom icon is shown and returns it to the default icon. Change the Instance Name or Description below the card.
- Select Save to apply the changes or Cancel to discard them.
The updated name appears below the instance icon in the details view. Images larger than 512 pixels on either side are scaled down proportionally when saved; smaller images keep their original dimensions. If saving fails, read the error in the editor and try again.
Edit remains available while the game is running. It is unavailable during installation. Delete is unavailable during installation and hidden from the compact menu while the game is running. In the wide action row, the delete button shows only its icon. Branch and version changes can remove installed client files; this editor does not change them.
Manage files
Open Folder opens the instance directory. Use it only when no installation, update, or game process is writing to that instance
To remove an instance, select it, choose Delete, review its name in the Confirmation overlay, then choose Delete again. This removes the instance and its game data. Back up worlds or other files you want to keep first. If deletion fails, the overlay stays open and shows an error.
Dragging a card by its handle changes and saves the list order. Opening a card changes the workspace displayed on the right. The three-dot menu on a card offers Open Folder, Edit, and Delete without opening the detail view. Delete is hidden there while that instance is running.
Instance sections
| Section | Use it for |
|---|---|
| Installed mods | Enable, disable, update, import, or remove mods in this instance |
| Discover mods | Find compatible CurseForge files and install them into this instance |
| Worlds | View saves found under the instance user data |
| Logs | Follow live output from the game running in this instance |
See Mods for the complete mod workflow
Find a mod
- Open Instances, select an installed instance, and open Discover mods
- Enter at least four characters in Search the mod catalog
- Press Enter or select the search icon that appears inside the field
- Optionally choose Category and Sort before searching again
- Select a mod, choose a compatible file, and select Install
The catalog hides mods that are already installed in the selected instance. During a new search, the current results fade out, a centered spinner appears, and the new results fade in when loading completes
To install several mods together, select the compatible catalog entries and select Install in the top bar. Review each mod, its icon, and the version that will be installed in the Preview sheet. The Dependencies column shows Depends on N mods; hover the badge to see each dependency's icon, name, and version, with six entries visible at once and the rest available by scrolling. Use the reset icon to clear the selection, or select Install at the bottom. The sheet closes and the catalog shows installation progress until the selected mods finish
Mod dependencies
Hyprism reads dependency relations from CurseForge mod files. Required dependencies are resolved recursively and installed before the selected mod. Optional dependencies are not installed automatically, while an incompatible mod relation stops installation when the conflicting mod is already installed
The Preview sheet warns that required dependencies may add extra downloads. Dependencies installed by the launcher appear in Installed mods with their own version and file metadata
Hyprism also reads the Hytale manifest.json inside JAR and ZIP mods. It keeps the declared plugin identifier and version ranges in the instance manifest and prevents removing a mod while another installed mod declares it as a required dependency. If a local archive declares a dependency, install that dependency separately before using the local mod
Logs
The Logs section shows live game output for the selected instance while Hyprism is open
- Open Instances, select an installed instance, and select Logs
- Enter text in the filter field to find matching messages or sources. Press
Escor click an empty area of the log panel to clear the filter and return to all messages - Open the level filter and select any combination of Debug for ordinary output, Warnings, Errors, and Tracing for stack trace lines. The menu stays open while you change its checkboxes
- Use Auto-scroll to follow new lines and Wrap lines to fit long lines to the panel width
- Select Clear logs to clear the current in-memory buffer for this instance, or Show in folder to open the current session folder when an instance log file exists
Each row shows time, level, source, and message. Select text to copy it, or select rows and press Ctrl+C to copy complete records. Scrolling away from the bottom pauses auto-scroll. The live buffer remains available only while Hyprism is open
Launcher logs remain on disk after Hyprism closes. Open Settings → Data, open the launcher data folder, and look in Logs for the relevant session. If a launch fails, include the relevant launcher and instance logs when reporting a bug, but review them for personal paths or account data first
Running games after reopening Hyprism
Hyprism records game process identity and restores the running state when the same process is still alive after reopening the launcher. Select that instance in Instances to see Running and the elapsed time since the game process started. Switching between instances immediately updates the button and timer for the selected instance. Hyprism removes stale records and keeps accumulated play time.